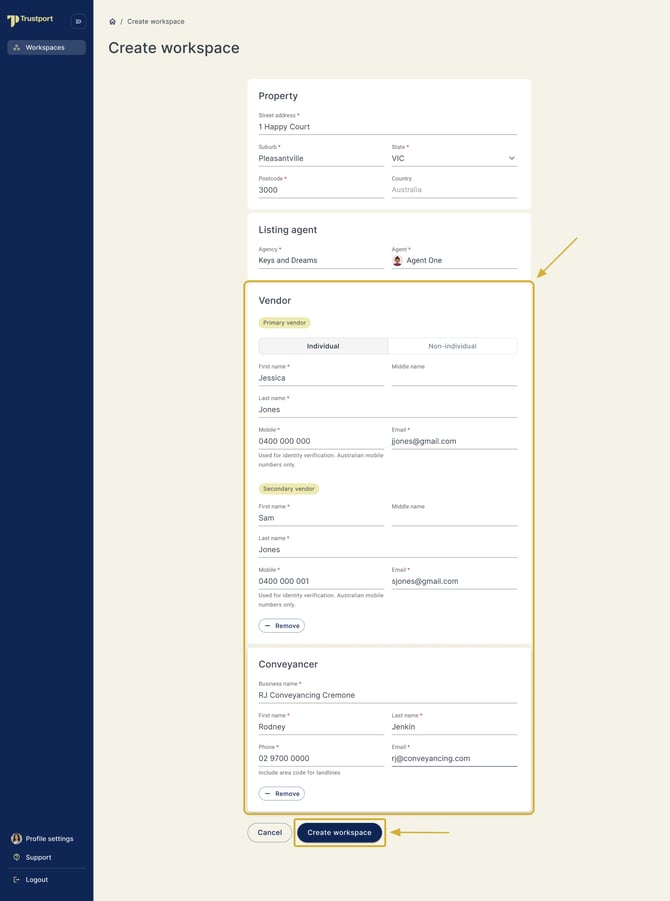
A workspace holds everything related to a single property sale, including the vendors, the conveyancer and the deposit. You'll create one for each new listing.
1. Start a new workspace
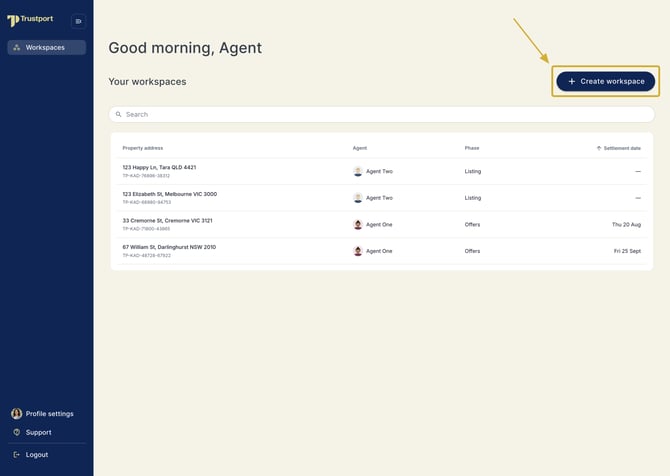
In the Workspaces section, click Create workspace in the top right.
2. Add the property address
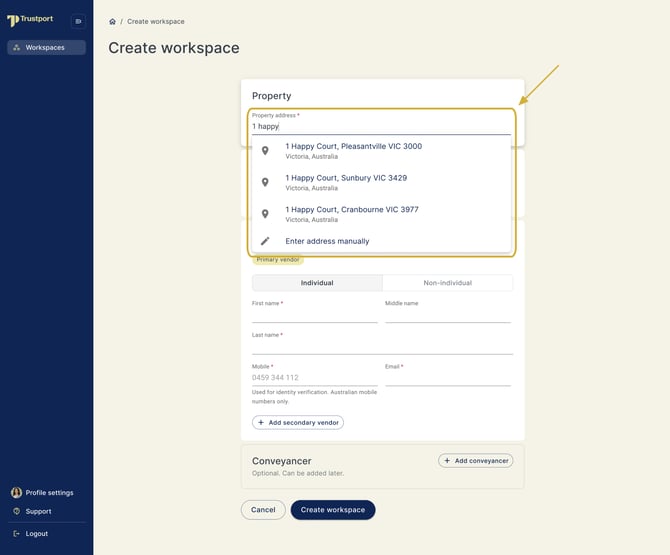
Start typing the property address and select it from the list that appears. If your address isn't listed, you can enter it manually.
3. Check the listing agent
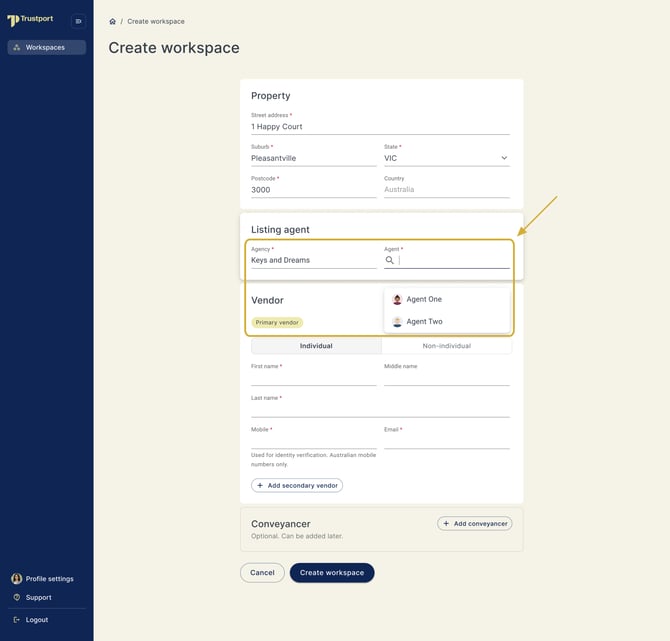
The Agency field is set automatically based on your company setup. Depending on your role, you can select the agent linked to the listing.
4. Add the vendor details
Have your vendor contact details ready before you start this section.
Use each vendor's full legal name exactly as it appears on their government ID, and add every vendor listed on the title.
For each vendor, enter:
- First name
- Last name
- Mobile
To add another vendor, click Add secondary vendor and fill in the same details.
5. Add the conveyancer (recommended)
We recommend adding your vendor's conveyancer now. Click Add conveyancer and enter their contact details.
6. Create the workspace
Once everything is filled in, click Create workspace.